Sub Flow Block
Sub-Flow building blocks can be created by selecting one or more other building blocks in a case, right-clicking and selecting “Create Sub-Flow”.
 Sub-Flow building block has lot of advantages:
- First of all we can create and encapsulate the functionality we want, and make sure that we don’t recreate the same functionality over and over.
- Second the Sub-Flow block helps to maintain the overview on the canvas by grouping other building blocks, and thereby limiting the number of blocks on the canvas.
- Third, you can have Sub-Flow block inside Sub-Flow blocks and this way build a hierarchy of blocks covering an entire application. This way an automation case will be an orchestration of functionality in the custom blocks which is much easier to administer.
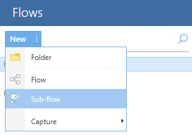
There are two ways of creating Sub-Flow Building Block:
- The easiest way of creating a Sub-Flow Building Block is to create the functionality in one test case and then do the following:
- Navigate to Flow section, click New button select Sub-flow option and start Sub-Flow block with “Execution input” block and End it with “Execution output” block with the blocks required in between both blocks.
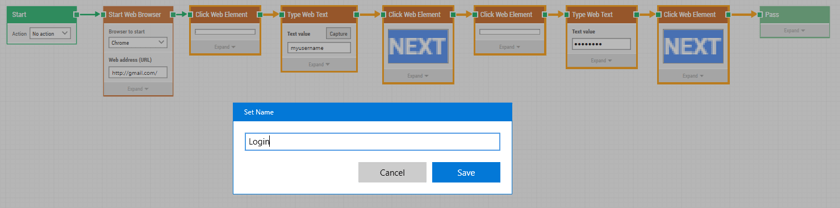
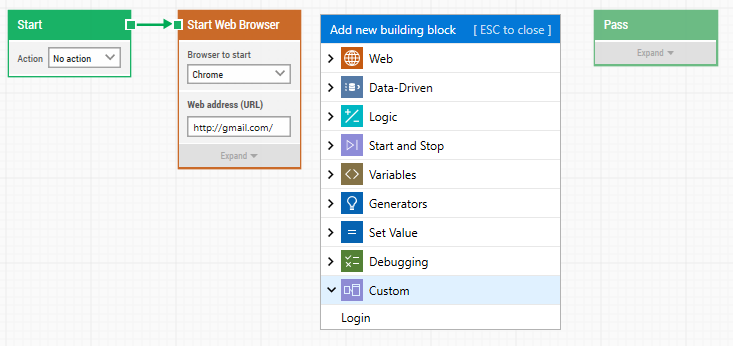
Lets take an example of Gmail Login and see how easy it is to create a Sub-Flow building block:
Here is the full test case which opens Chrome browser > navigates to “http://gmail.com/” > Enter user name press next button then enter user name and press next button to login, below is the screenshot of case.

Now, for the purpose of re-usability and maintainability we can create Sub-Flow building block of these login steps so that we can use it in multiple test cases, below steps explains how to create Sub-Flow building block.
- Select the set of building blocks you want to turn into a “Sub-Flow Building Block” by dragging your mouse over one or more building blocks.

- Press Ctrl+H or “right click” on the building block selection and select from context menu “Create Sub-Flow”. Give a meaningful name to make it easier to find and reuse the building block after that click Save.
- The selected building blocks will be converted to a Purple color “Sub-Flow Building Block”. By double clicking you can open and edit it and save it once you are finished. Please notice that “Sub-Flow Building Block” opens in new tab for editing.
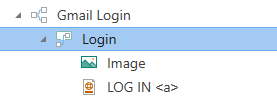
- You can find your “Sub-Flow Building Block” under the flow tree.
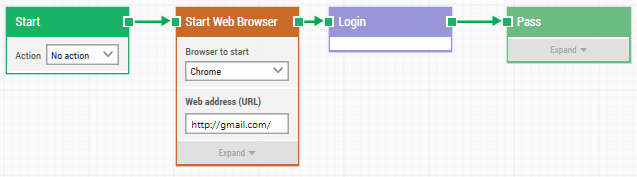
- Entry and exit to Sub-Flow building block is defined by Execution Input and output as shown above. Execution input is entry point for Sub-Flow building block. Execution output is exit point for Sub-Flow building block
- Passing and retrieving data from Sub-Flow building block is also possible using “Value input” and “Value output” building blocks as shown below and there is no restriction on inbound and outbound connector (“Value input” and “Value output” building blocks ) inside Sub-Flow building block.

In order to reuse the “Sub-Flow Building Block” simply drag and drop it to other test cases, or add it as a new building block to an existing case by pressing CTRL+N on the test case canvas.
Please note:
- A Sub-Flow building block is globally accessible and can be used anywhere within or outside the project.
- If you are using Sub-Flow building block, updating the respective Sub-Flow block will automatically update all the automation cases where it is being used.
For getting a better insight you can watch a video tutorial here.
Updated September 28th 2018.